Hello people!
We will continue the quest of reading Game Boy cartridges .This will be the first post about reading the whole cartridge (both ROM and RAM). But we will focus in MBC1 cartridges for now. Example of MBC1 cartridges are Pokémon Red and Blue, Super Mario Land 3, and Link’s Awakening.
Last post we saw a method for reading the ROM header, this allow us to know with cartridge is connected to the interface board. This is important because before accessing the data in the cartridge, it is necessary to know the bank controller present in the cart, as well the sizes of the ROM and RAM(Save data).
Memory Bank Controller (MBC)
The Game Boy processor has a 16-bit wide address bus. This means that it can access 2^16=65536 different addresses(64K, being 32K for the cartridge and the rest for the system). Some games have around 1MB of just ROM, with generally 8KB RAM.So how could they do this?
They used bank controller chips. While the first 16KB of the cartridge are always the same, bank controllers allow to switch the second bank for other 16KB bank of the ROM, this way the processor could access more memory than just 64KB.
There are at least four different bank controllers in game boy cartridges: MBC1, MBC2, MBC3 and MBC5 ( probably because4 is a bad luck number in Japan). I will cover the first bank controller released, MBC1 in this post.
ROM banks
First, we will go do the dump of the ROM to the PC. The process is as follows:
- Select the bank to appear in 4000-7FFF range.
- Read bytes from each location from this bank.
- Send the bytes read to PC
This is very simple, except for the part of select banks. Each MBC has its way of selecting banks, though some are compatible.
The MBC1 can work in possible modes:
- 2MB of ROM and 8KB of RAM.
- 512KB of ROM and 32KB of RAM.
To select the mode, it is necessary to write a byte to 6000-7FFF area of the cartridge:
00h = 2MB of ROM and 8KB of RAM. (default)
01h = 512KB of ROM and 32KB of RAM
For choosing in which mode operate, the size of the RAM is read from the reader, if it is more than 8KB, the second mode is selected.
if (MBC==1){
	if (readByte(0x0149)==0x03){
		WriteByte(0x7000,(0x01));//32k ram mode
	}else{
		WriteByte(0x7000,(0x00));//8k  ram mode
	}
}
To select the bank, the lowest 5 bits of the ROM bank number are written the least five bits in 2000-3FFF. If the cartridge is 2MB ROM mode, the two upper bits of the ROM bank number are written to 4000-5FFF area.
void readBank(uint16_t bank ){
if (MBC==1){
	if (readByte(0x0149)==0x03){//32k RAM? Mode 2
		if (bank==0){
			for (uint16_t i=0;i<=16383;i++){//16k
				Serial_write(readByte(i));
			}
		}else{
			WriteByte(0x3000,bank);
			for (uint16_t i=0x4000;i<=0x7FFF;i++){//16k
				Serial_write(readByte(i));
			}
		}
	}else{//Mode 1 2MB ROM 8kb RAM
		if (bank==0){
			for (uint16_t i=0x000;i<=0x3FFF;i++){//16k
				Serial_write(readByte(i));
			}
		}else{
			WriteByte(0x3000,bank&0x001F);
			WriteByte(0x4000,bank>>5);
			for (uint16_t i=16384;i<=32767;i++){//16k
				Serial_write(readByte(i));
			}
		}
	}
}
}
It seems strange the idea of writing values to the ROM area, but have in mind that the MBC is connected to the bus. The values are actually written to the bank controller registers, and not interfere in the ROM as it can’t be changed.
RAM banks
The procedure for selecting banks is similar for RAM.
Writing the RAM bank number (00-03h) to 4000-5FFF area will select the RAM bank that will appear in A000-BFFF. However, it is necessary to be aware that for reading or writing RAM, the CS line of the cartridge must be dropped LOW. Also, a byte must be written to 0000-1FFF to enable and disable the RAM:
00h  Disable RAM (default)
0Ah  Enable RAM
Said that, the code for read the contents of RAM:
void readRAM(){
	ControlPort&=~(1<<MREQ);//enable the RAM chip
	if (MBC==1){
		if (readByte(0x0149)==0x03){//32k RAM? Mode 2
			WriteByte(0x1000,0x0A);//enable RAM writing
			for (uint8_t i=0;i<4;i++){
				WriteByte(0x4000,i);//select bank
				for (uint16_t j=0xA000;j<=0xBFFF;j++){
					Serial_write(readByte(j));
				}

			}
			WriteByte(0x1000,0x00);//disable RAM writing

		}else{//Mode 1 2MB ROM 8kb RAM
			WriteByte(0x1000,0x0A);
			for (uint16_t j=0xA000;j<=0xBFFF;j++){
				Serial_write(readByte(j));
			}
			WriteByte(0x1000,0x00);//disable RAM writing
		}
	ControlPort|=(1<<MREQ);
	}
}
Python Code
A simple code in Python is used to receive the data through serial port and write the bytes to a file. These files can be opened by a emulator without problems.
if(option==1):#read ROM
        name=input("What the name of the file?")
        f = open(name, 'w')
        f.close()
        romsize=int(input("What the size of the rom in KB?"))
        romsize=romsize*1024
        ser.flushInput()
        ser.write(bytes("a","ASCII"))#tell the board to send the ROM
        ser.write(bytes("b","ASCII"))
        ser.write(bytes("c","ASCII"))
        numBytes=0
        f = open(name, 'ab')#append mode,binary
        while (numBytes<romsize):
            while ser.inWaiting()==0:
                print("waiting...\n",numBytes)
                time.sleep(0.5)
            data = ser.read(1)#must read the bytes and put in a file
            f.write(data)
            numBytes=numBytes+1
        f.close()

if(option==2):#read RAM
        ser.write(bytes("a","ASCII"))#tell the board to send the RAM
        ser.write(bytes("b","ASCII"))
        ser.write(bytes("y","ASCII"))
        time.sleep(1)
        numBytes=0
        name=input("What the name of the file?")
        f = open(name, 'ab')
        while (numBytes<ramsize):
            while ser.inWaiting()==0:
                print("waiting...\n",numBytes)
                time.sleep(1)
            data = ser.read(1)#must read the bytes and put in a file
            f.write(data)
            numBytes=numBytes+1
            f.close()
Of course, these are only pieces of the whole code. You can download the complete project folder here.
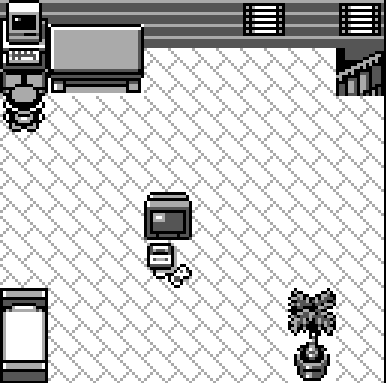
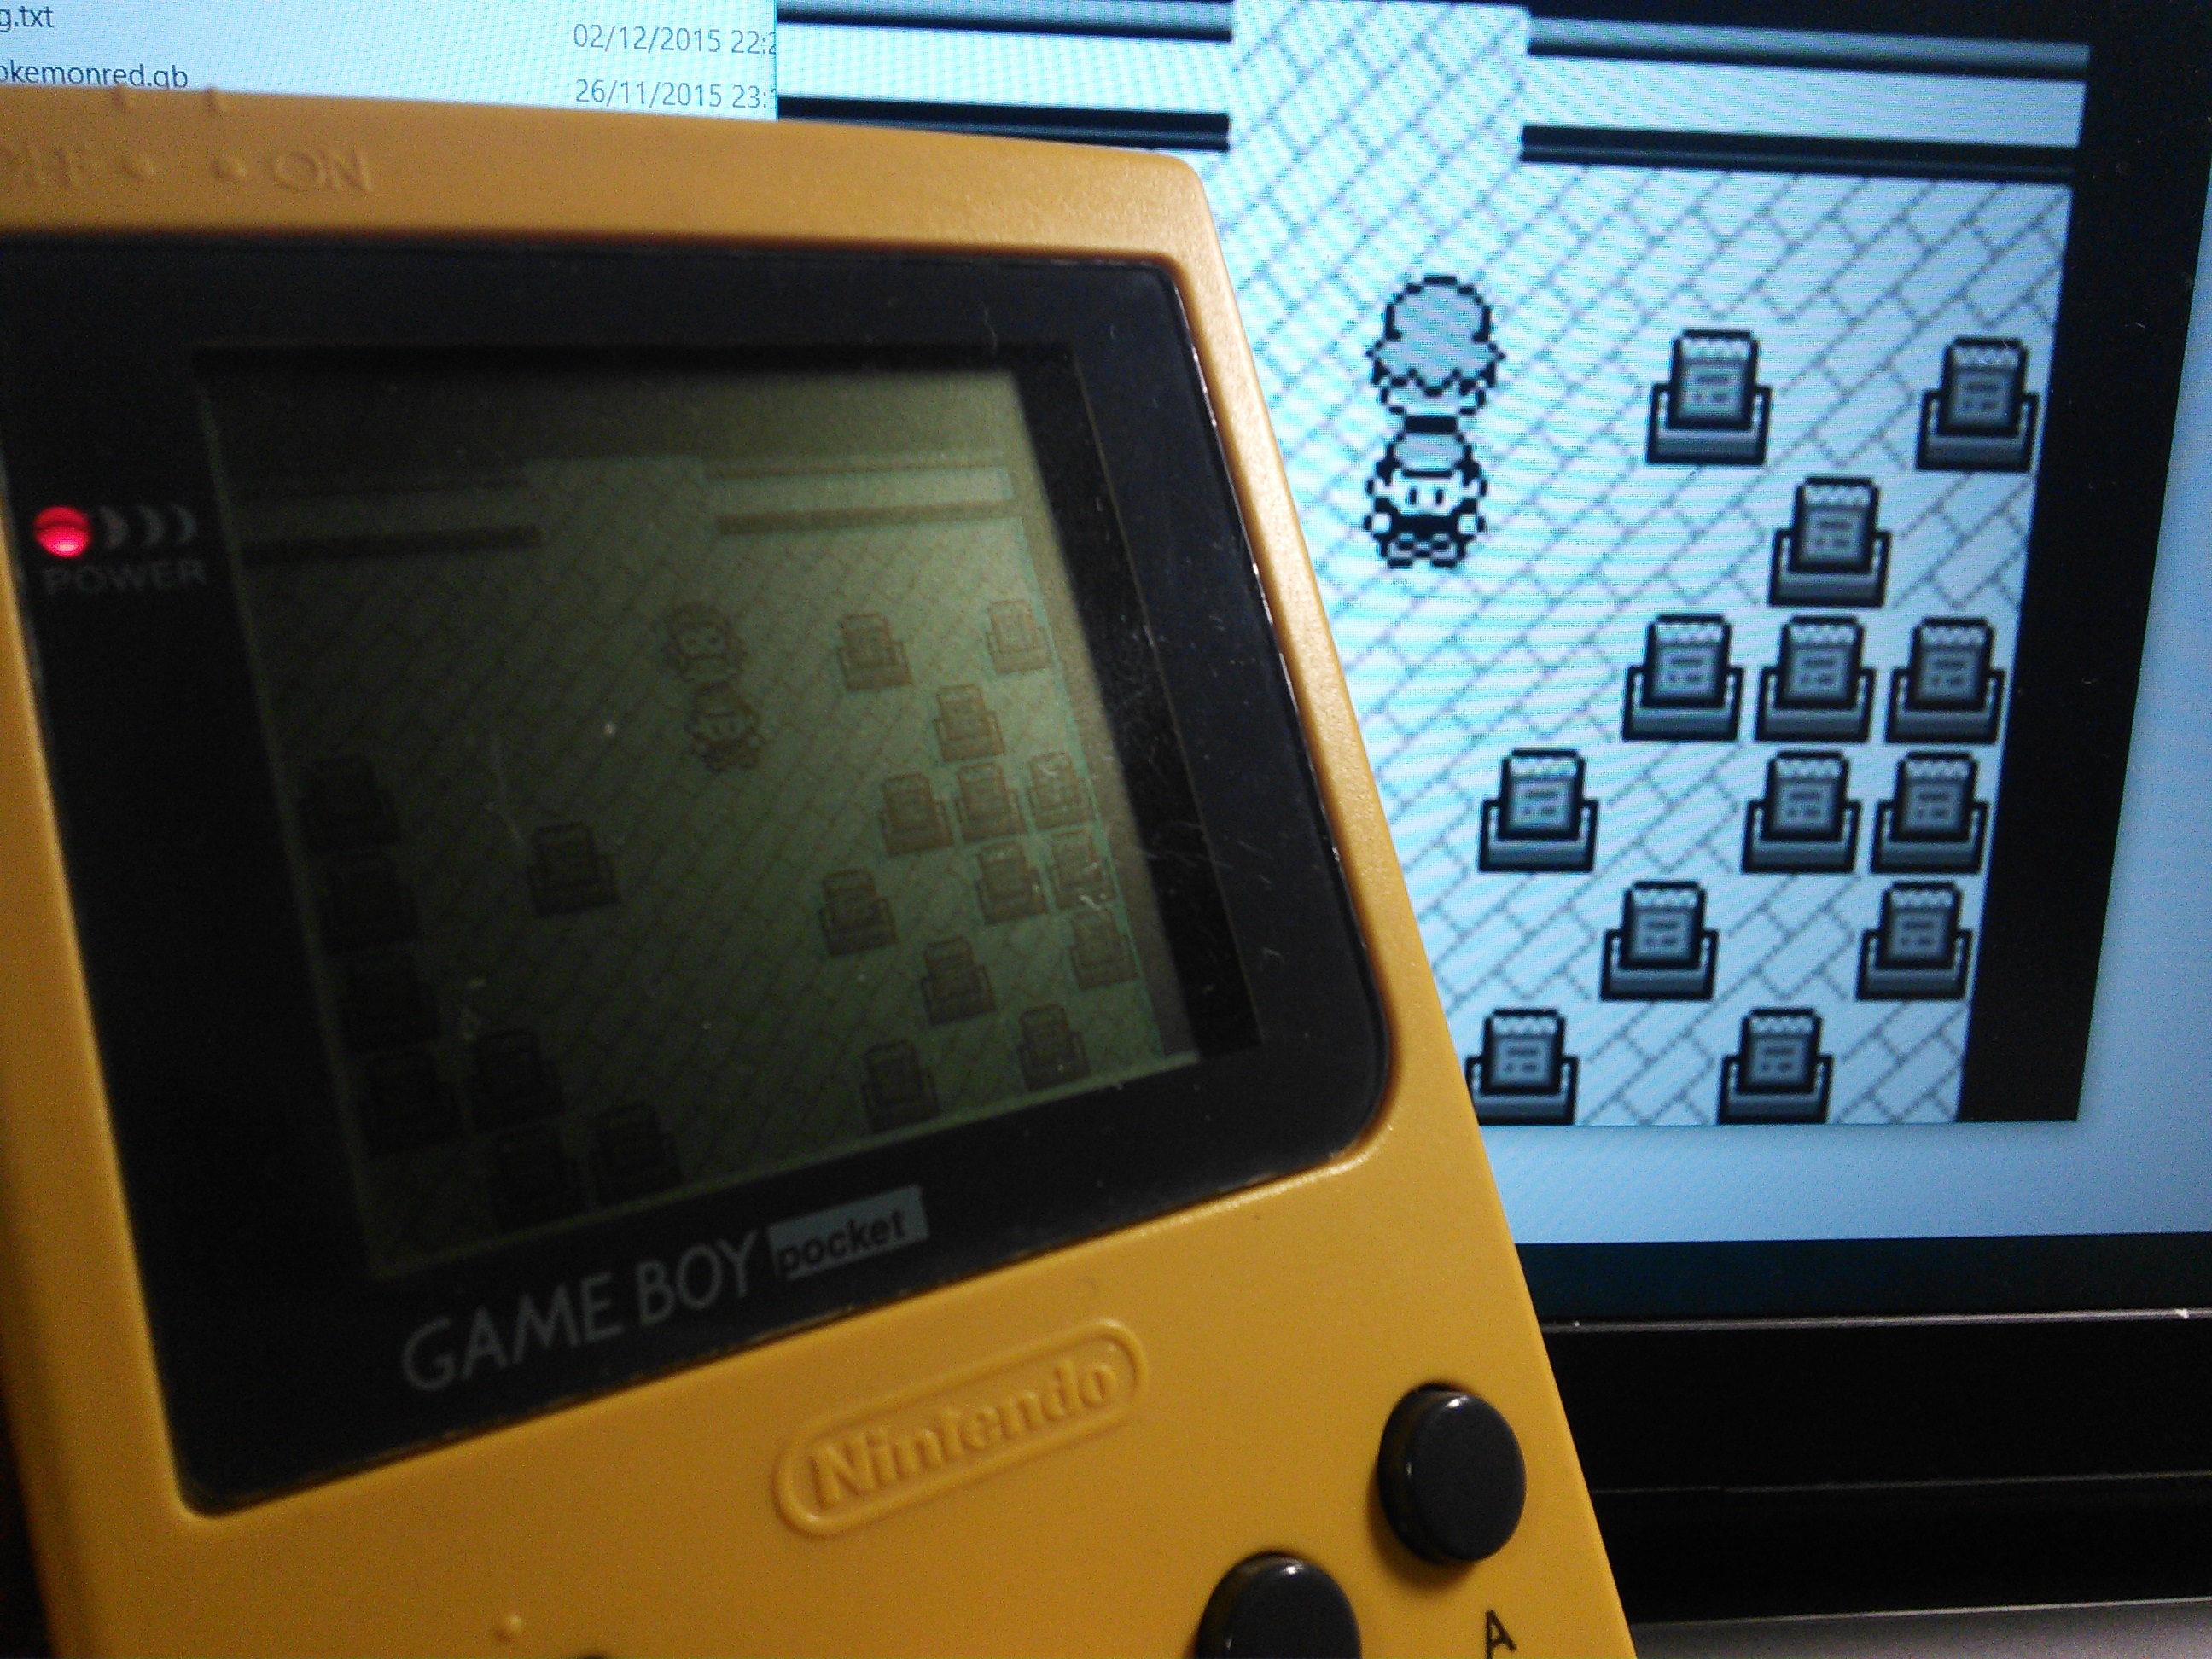
It works!
I tested the code with a Japanese Pokémon Red and a Super Mario Land 3 (Wario Land) . It works great, at least no bugs or anything when I tried to run them in Visual Boy Advance. Remember that you have the ROM and RAM saves with the same name, but different extensions. The ROM generally is ‘.gb’ format, while the RAM is in ‘.sav’ format. Example:
pokemonred.gb
pokemonred.sav
Below, you can see the emulator running the files that I read from the cartridge.
That’s it.
That was fun and rewarding, but there are still other kinds of cartridges to read. In addition, there are some things that can be improved in the code. Seems that I will have content for other posts.
For the previous posts:
Part 0 – Gameboy Paks to PC interface board.
Part 1 – Game Boy Pak Reader & The Cartridge Header.
Thanks for reading. Until next post o/


Boa noite Robson. Quanto custa toda a brincadeira??
Abraços
Olá Daniel. Quase nada, mas depende das ferramentas que você tem. Esse código foi feito pra o Atmega 32, mas é fácil de adaptar pra outros micros. Além disso tem um conversor USB-Serial (2-3$) e o slot pra cartuchos que retirei de uma sucata de Gameboy.